
 EN
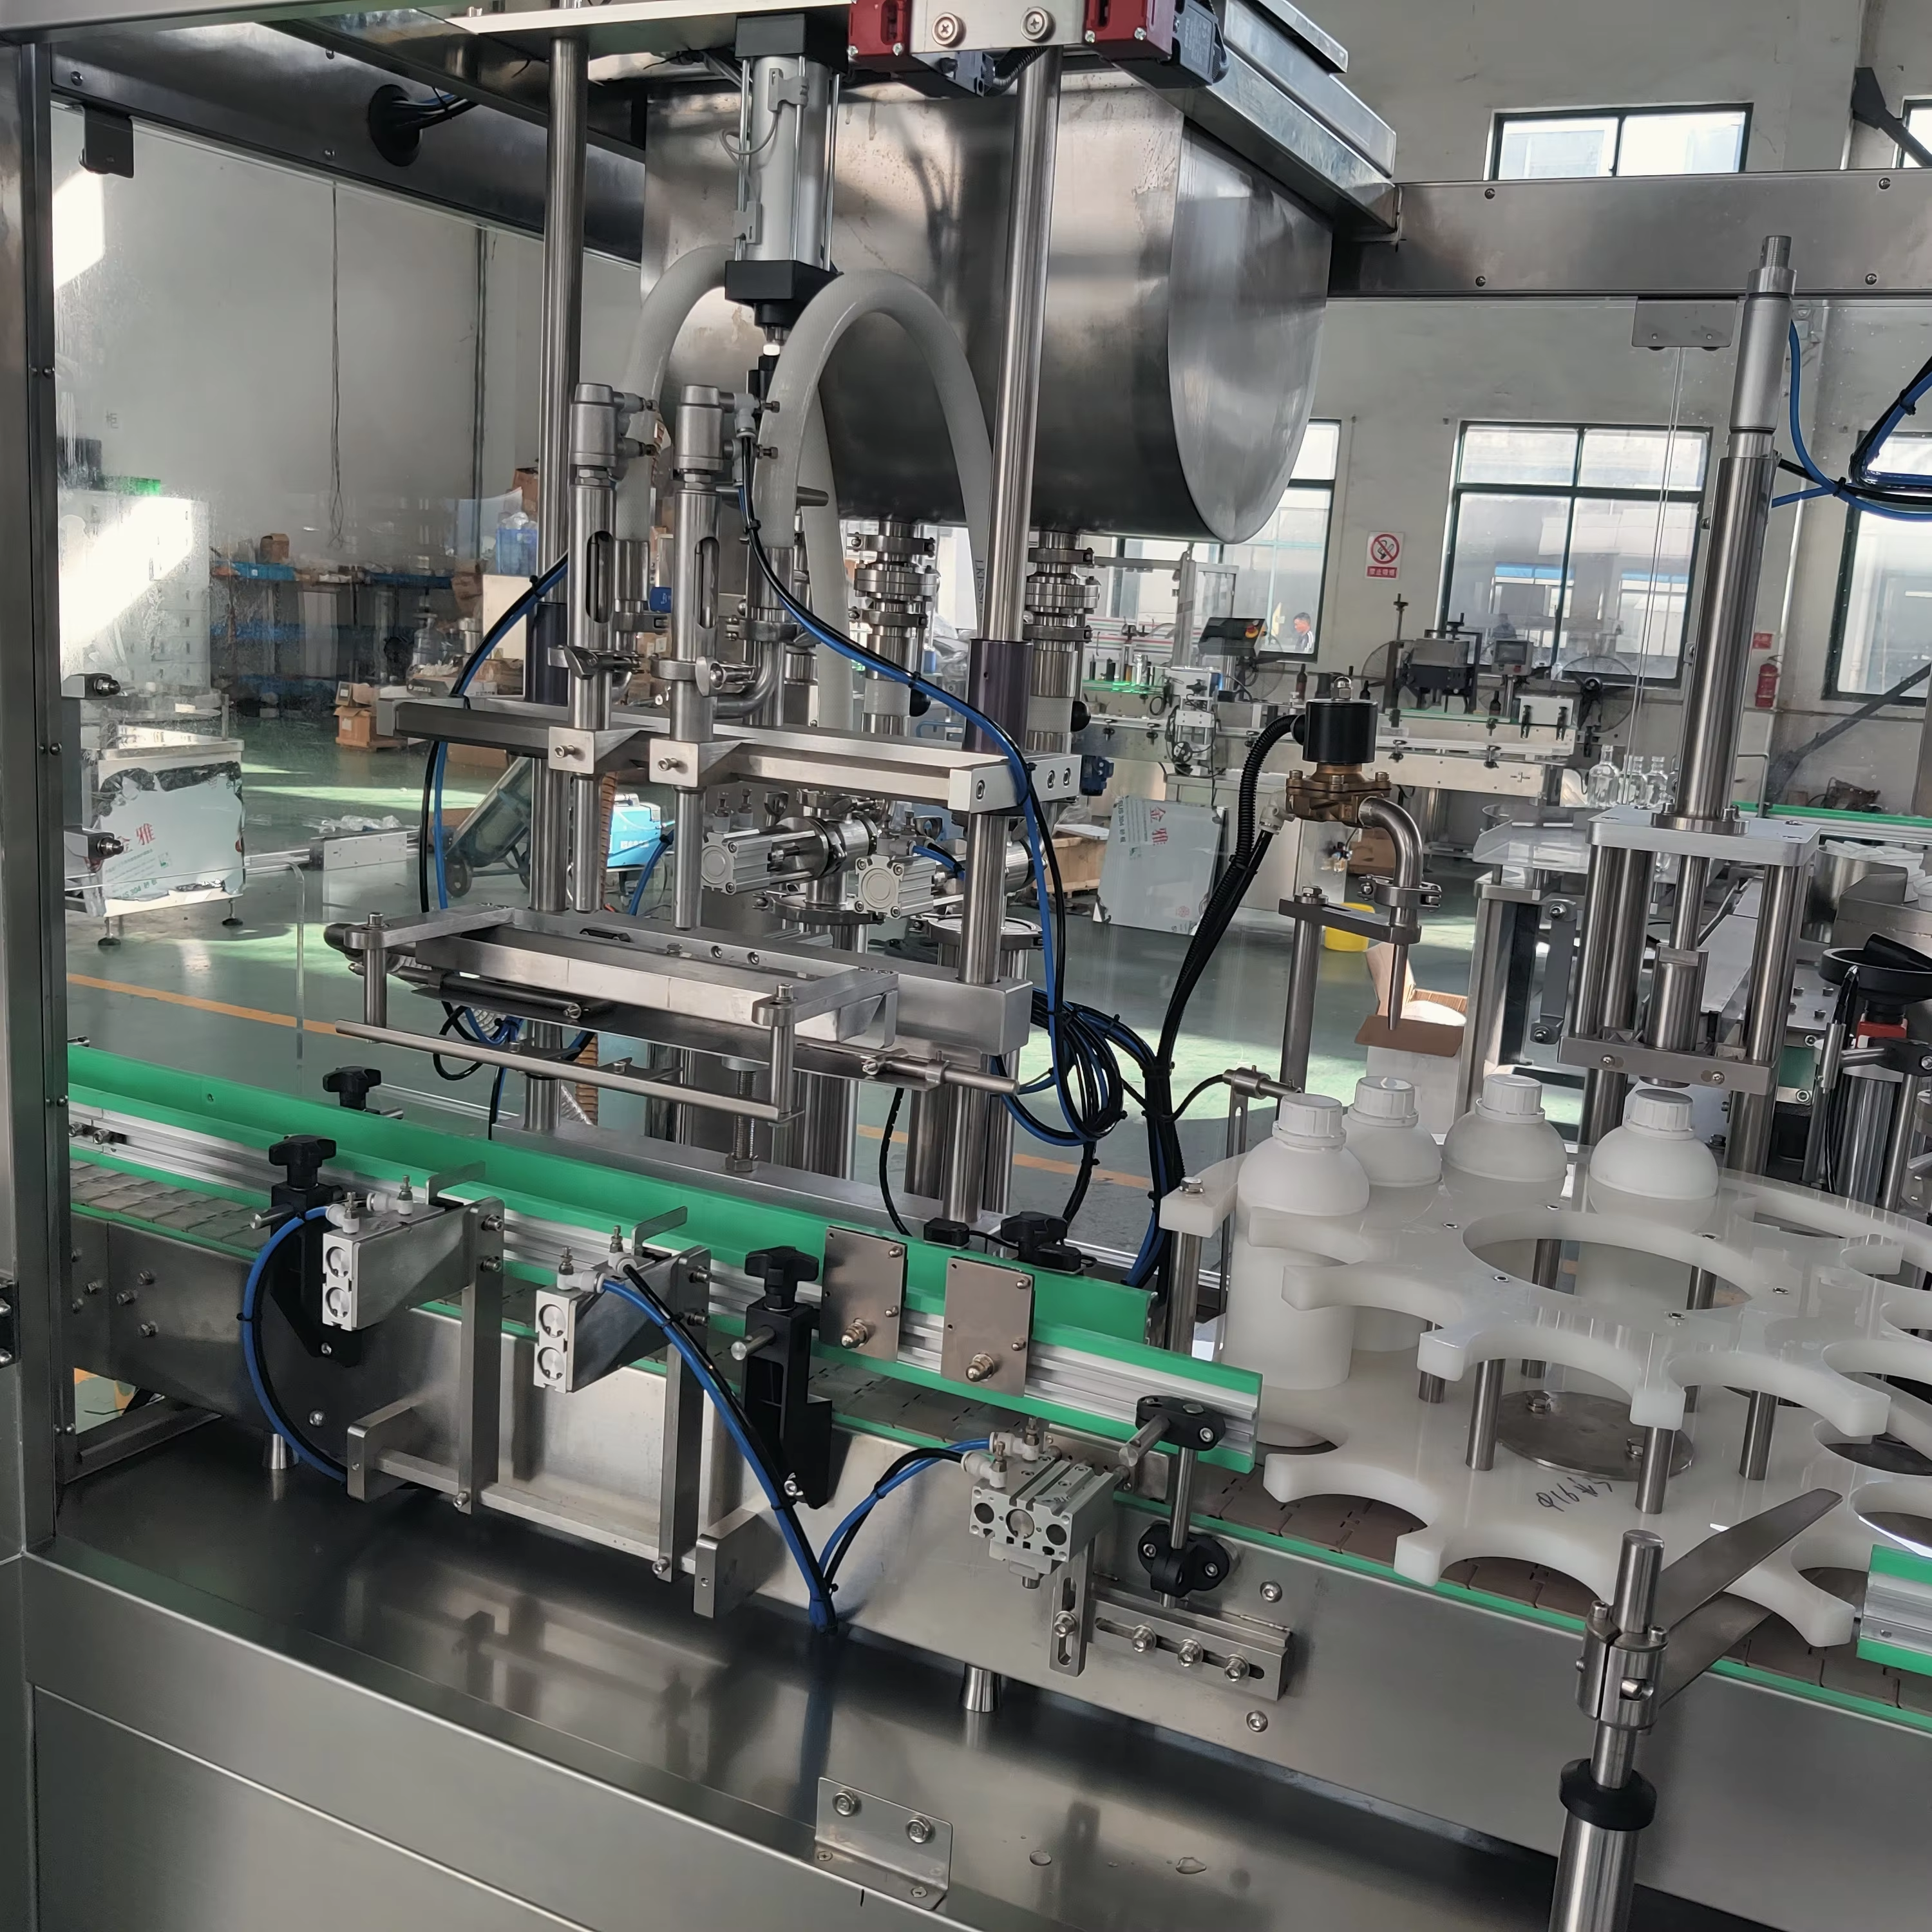
Double seam defects represent one of the most critical quality challenges in modern beverage and chemical packaging operations. When a tin can filling and sealing machine produces inconsistent or faulty seams, the consequences ripple through your entire production line, affecting product shelf life, safety compliance, and brand reputation. Understanding the root causes of these defects and implementing systematic troubleshooting procedures is essential for any facility operating a tin can filling and sealing machine. This guide walks you through the diagnostic process, preventive strategies, and corrective actions needed to eliminate double seam problems and maintain consistent packaging quality.

A tin can filling and sealing machine operates through a carefully orchestrated sequence of mechanical and pneumatic steps. When any component falls out of specification, the sealing integrity suffers immediately. Double seam defects occur when the chuck, roller, or base plate positioning deviates from tolerance, resulting in incomplete metal overlap, wrinkles, or separation between the can body and lid. Recognizing these failure modes early allows operators to intervene before hundreds or thousands of defective cans enter the supply chain.
Understanding Double Seam Formation and Failure Modes
How a Tin Can Filling and Sealing Machine Creates Proper Seams
A properly functioning tin can filling and sealing machine follows a precise two-stage sealing process. In the first operation, the chuck rises and compresses the lid onto the can rim while the roller folds the lid flange under the can body flange. The tin can filling and sealing machine then indexes the can to the second seaming head, where the roller completes the seam by folding the body flange over the lid flange. This creates a hermetic double seam that provides structural integrity and long-term shelf stability. Any deviation in roller pressure, chuck height, speed synchronization, or cam alignment on the tin can filling and sealing machine disrupts this sequence and produces defects.
Common Double Seam Defect Patterns
Wrinkles in the seam result when the tin can filling and sealing machine applies insufficient pressure or when the chuck height is too high, leaving excess metal that folds irregularly. Open seams occur when the roller does not fully compress the metal, typically caused by worn roller faces or improper roller pressure settings on the tin can filling and sealing machine. Tilted seams indicate that the chuck or roller is misaligned relative to the can axis. Soft seams feel loose and may leak because the tin can filling and sealing machine is not applying adequate compressive force during either the first or second seaming operation. Each defect type points to a specific mechanical or operational failure that requires targeted correction.
Systematic Troubleshooting Procedures for Your Tin Can Filling and Sealing Machine
Mechanical Inspection and Measurement Protocol
Begin by stopping the tin can filling and sealing machine and performing a visual inspection of all sealing components. Check the roller faces for wear, contamination, or scoring marks using a magnifying glass or microscope. Measure the roller pressure using a calibrated pressure gauge, comparing the actual reading to the equipment specification sheet for your tin can filling and sealing machine. Inspect the chuck for corrosion, bent teeth, or play when raised and lowered by hand. Verify that the base plate is level using a precision level, and confirm that the cam follower maintains consistent contact throughout its motion. Many tin can filling and sealing machine operators overlook these routine measurements, allowing gradual drift that produces sporadic defects.
Can and Cover Quality Assessment
Defects often originate not with the tin can filling and sealing machine itself but with incoming can bodies or lids. Inspect the flange dimensions of a representative sample of cans and covers using calipers or a micrometer. Verify that lid thickness matches the specification; thin lids compress differently during seaming than standard-gauge lids, requiring adjustment on your tin can filling and sealing machine. Check for dents, scratches, or burrs on the flange that prevent proper seam formation. Also confirm that the can rim is clean and free of product residue or lubricant, which can cause the lid to slip during the seaming operation on the tin can filling and sealing machine.
Adjustment and Optimization Techniques for Double Seam Quality
Roller Pressure and Chuck Height Calibration
Once you have identified the specific defect pattern, adjust the roller pressure incrementally on your tin can filling and sealing machine. Most modern machines allow you to modify pressure through pneumatic valve settings or electronic load cells. Start by reducing pressure by 2 to 3 PSI and run a test cycle, examining the resulting seam for improvement. If wrinkles persist, increase pressure slightly instead, as insufficient force prevents full compression. For a tin can filling and sealing machine, chuck height should allow the lid to sit flush on the rim with approximately 0.015 inches of compression before the first roller engages. Use shim packs or electronic height sensors to maintain this tolerance consistently across all sealing heads on your tin can filling and sealing machine.
Speed and Synchronization Optimization
Many operators run their tin can filling and sealing machine at maximum speed without considering that higher speeds reduce the dwell time available for proper metal deformation. Reduce the line speed by 10 to 15 percent and observe whether double seam quality improves. A slower tin can filling and sealing machine allows the roller more time to fully compress and fold the metal, resulting in tighter, more consistent seams. Also verify that the first and second seaming heads are synchronized with the can indexing system. If the can rotates off-center or arrives at the second seaming head before the first operation completes, the tin can filling and sealing machine will produce tilted or incomplete seams. Electronic timing controllers on modern equipment allow fine adjustment of these phase relationships.
Preventive Maintenance and Long-Term Quality Management
Regular Maintenance Schedule for Sealing Components
Establish a preventive maintenance schedule that includes weekly inspection of rollers, chucks, and base plates on your tin can filling and sealing machine. Micro-pitting and surface degradation occur gradually and may not trigger obvious defects immediately, but they accumulate and eventually compromise seam quality. Clean all sealing surfaces daily with appropriate solvents to remove product residue and dried lubricant. Replace rollers every 6 to 12 months depending on throughput and product type, even if they appear visually acceptable, because subsurface fatigue is invisible. Document roller pressure, chuck height, and seam quality measurements in a maintenance log to track trends and identify drift before defects become widespread on your tin can filling and sealing machine.
Statistical Process Control and Root Cause Analysis
Implement a statistical process control program that samples seams from every production run on your tin can filling and sealing machine. Measure key seam parameters such as hook depth, seam thickness, and flange coverage using an electronic seam analyzer or manual tools. Create control charts that display these measurements against specification limits and identify when the process drifts out of control. When defects spike, conduct a root cause investigation by reviewing the maintenance records, environmental conditions, and material batch information for your tin can filling and sealing machine. Was the room temperature particularly cold that day? Did you receive a new lot of cans from a different supplier? Did maintenance on your tin can filling and sealing machine occur just before the problem started? Systematic documentation and analysis prevent recurring issues and demonstrate compliance to quality auditors.
FAQ
What is the most common cause of wrinkled double seams on a tin can filling and sealing machine?
Wrinkled seams on a tin can filling and sealing machine most commonly result from insufficient roller pressure during the second seaming operation or an excessively high chuck position that leaves too much metal to fold. Inspect and adjust the roller pressure first, starting with small increments of 1 to 2 PSI. If the tin can filling and sealing machine pressure is already within specification, measure the chuck height and compare it to the equipment manual. Many operators also experience wrinkles when running damaged or worn rollers, so visual inspection of roller faces is essential before making pressure adjustments on your tin can filling and sealing machine.
How can I test whether my tin can filling and sealing machine is producing acceptable seams?
Quality testing for a tin can filling and sealing machine involves both destructive and non-destructive methods. Non-destructive inspection includes visual examination with magnification, measurement of seam dimensions using calipers, and evaluation of seam tightness with manual pull tests. For destructive testing, section cans from your tin can filling and sealing machine and examine the cross-section under magnification, looking for complete metal overlap, consistent seam thickness, and absence of voids or cracks. Most facilities use electronic seam analyzers that provide precise measurements of hook depth and flange coverage, eliminating subjective judgment from the tin can filling and sealing machine quality assessment process.
Can environmental factors affect the seaming quality of my tin can filling and sealing machine?
Environmental conditions significantly influence how your tin can filling and sealing machine performs. Cold temperatures make metal less pliable, resulting in incomplete seams or excessive deformation on the tin can filling and sealing machine. Conversely, excessive heat can soften lubricants on rollers, reducing friction and causing metal slippage. High humidity promotes corrosion on roller surfaces, which increases friction unpredictably and affects the consistency of seams produced by your tin can filling and sealing machine. Most manufacturers recommend operating a tin can filling and sealing machine in an environment maintained between 60 and 80 degrees Fahrenheit with 40 to 60 percent relative humidity. If your facility cannot maintain these conditions, adjust roller pressure and speed settings on your tin can filling and sealing machine to compensate for seasonal variations.